Solutions for renewable energy
E-mobility and Renewable Energy Solutions catalogue 2025
E-mobility and Renewable Energy solutions catalogue: an edition renewed even in name!


E-mobility and Renewable Energy solutions catalogue: an edition renewed even in name!

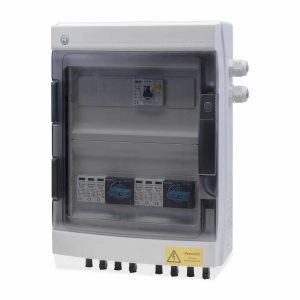
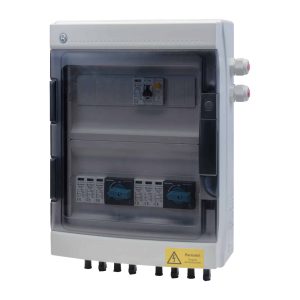
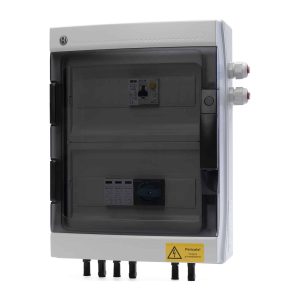
These include twelve new models, six for the ISA range and six for the ISB range.

The project consists of the installation of 12 Cabur wall-mounted charging stations for electric and hybrid cars, along the wall adjacent to the parking stalls and another 9 on poles fixed to the ground, placed under a well-lit shelter.